
The golden hour is often referred to as the "magic hour" for photographers, and for good reason. This brief window of time shortly after sunrise or before sunset bathes the world in a warm, golden glow that can transform even ordinary scenes into extraordinary photographs. In this article, we'll explore how to plan for, capture, and maximize the potential of golden hour photography.
What Exactly is the Golden Hour?
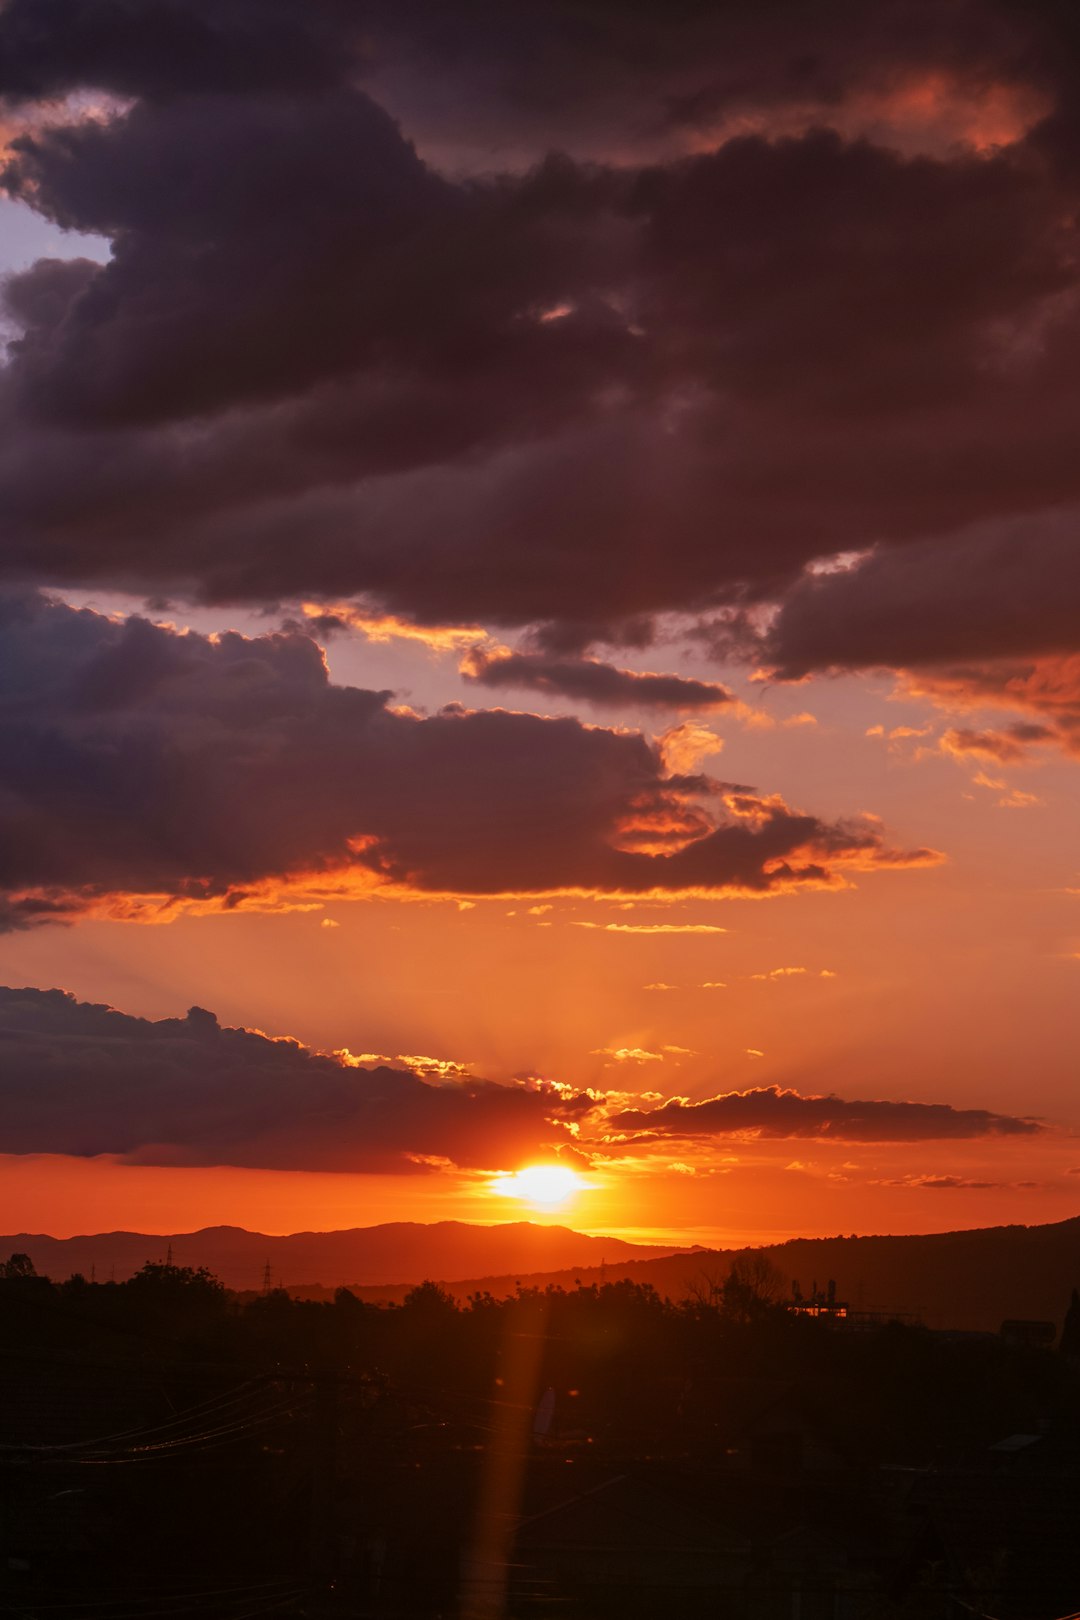
The golden hour refers to the period shortly after sunrise or before sunset when the sun is low on the horizon, creating soft, diffused light with a warm color temperature. During this time, the sunlight must travel through more of the Earth's atmosphere, which filters out the harsh blue light and allows the warmer red, orange, and yellow wavelengths to dominate.
The actual duration of the golden hour varies depending on your geographic location and the time of year:
- Near the equator, golden hour is shorter (sometimes just 20-30 minutes)
- Further from the equator, especially during winter months, the golden hour can extend much longer
- During summer in very northern or southern latitudes, the golden light can last for hours
Why Photographers Love Golden Hour Light
Golden hour light offers several unique qualities that make it ideal for photography:
Soft, Directional Light
The low angle of the sun creates directional light that adds dimension and texture to your subjects while remaining soft enough to avoid harsh shadows. This is particularly flattering for portrait photography.
Warm Color Temperature
The natural amber glow adds warmth to skin tones and creates a dreamy, romantic atmosphere in your images. This warm color palette can evoke feelings of nostalgia and comfort.
Reduced Dynamic Range
The softer light reduces the contrast between highlights and shadows, making it easier for your camera to capture detail throughout the entire scene without blown-out highlights or blocked-up shadows.
Long Shadows
The low angle of the sun creates long shadows that add depth, dimension, and visual interest to landscapes and architectural photography.
The same location photographed at midday (left) and during golden hour (right), demonstrating the dramatic difference in light quality.
Planning for Golden Hour Photography
Because golden hour is fleeting, proper planning is essential to make the most of this magical light:
Determining the Timing
Several tools can help you calculate exactly when golden hour will occur at your location:
- Smartphone Apps: PhotoPills, The Photographer's Ephemeris, and Golden Hour provide precise times and even show the sun's position
- Websites: TimeAndDate.com and SunsetWx can provide sunset/sunrise times and forecasts for optimal conditions
- Rule of Thumb: Generally, golden hour begins about one hour before sunset or shortly after sunrise
Scouting Locations
Visit potential shooting locations in advance to understand how the light will interact with the environment:
- Note the direction of the rising or setting sun relative to your subject
- Look for potential foreground elements that could be silhouetted or illuminated
- Consider how natural features might block or filter the light
- Account for seasonal changes in the sun's position
Preparing Your Gear
Be ready with the appropriate equipment:
- Tripod: Essential for longer exposures as light levels decrease
- Graduated ND Filters: Helpful for balancing exposure between bright skies and darker foregrounds
- Lens Hood: Prevents flare when shooting toward the sun
- Extra Batteries: Cold mornings can drain battery life faster
- Remote Shutter Release: Minimizes camera shake for sharper images
Golden Hour Photography Techniques
Once you're on location during golden hour, these techniques will help you make the most of this special light:
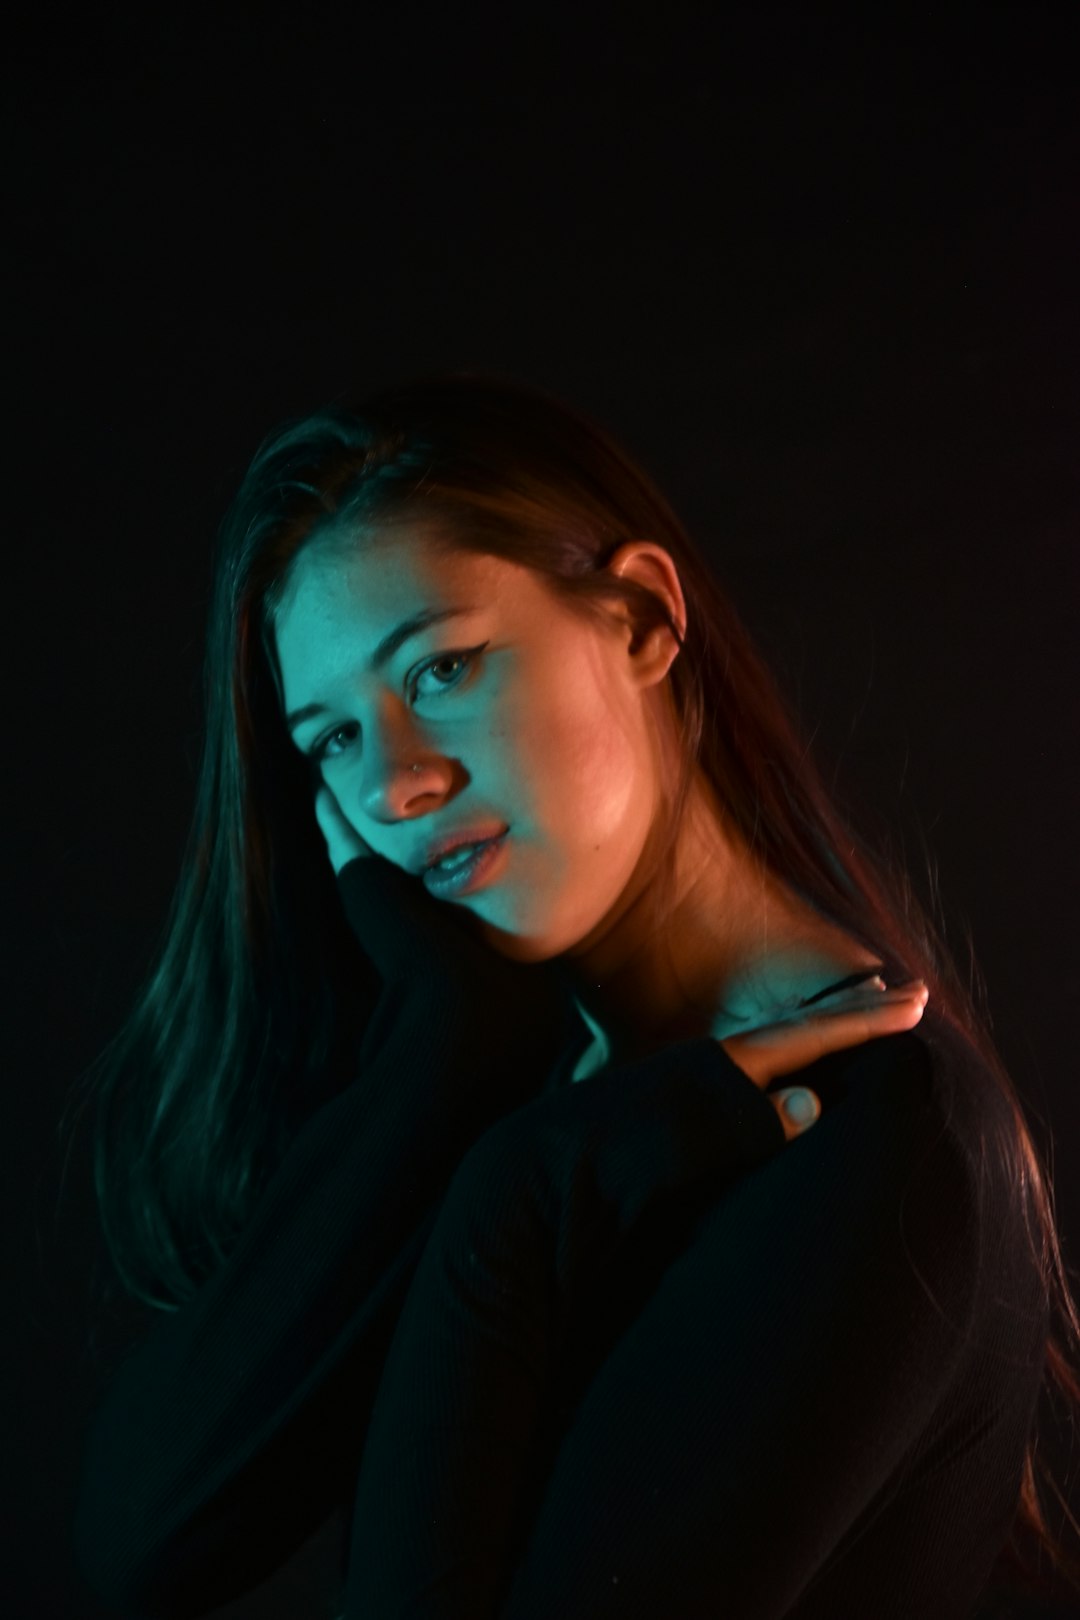
Backlighting
Positioning your subject with the sun behind them creates a beautiful rim light or "halo" effect. This technique works especially well for portraits, wildlife, and foliage:
- Meter for the subject's face to avoid silhouettes (unless that's your goal)
- Use spot metering to ensure proper exposure of your main subject
- Consider using fill flash or a reflector to add light to shadowed areas
A portrait shot with backlighting during golden hour, showing the beautiful rim light effect around the subject's hair.
Silhouettes
The low angle of the sun makes golden hour perfect for creating dramatic silhouettes:
- Position your subject directly between your camera and the sun
- Look for subjects with distinctive and recognizable shapes
- Meter for the bright sky to ensure your subject remains dark
- Simplify the composition to emphasize the silhouetted shape
Lens Flare
While lens flare is often avoided, during golden hour it can be used creatively:
- Position the sun partially behind an object to create a starburst effect
- Experiment with allowing the sun to peek into the frame at different angles
- Try different apertures to change the appearance of the flare (smaller apertures create more defined starbursts)
Long Shadows
Incorporate the distinctive long shadows of golden hour into your composition:
- Look for interesting patterns created by shadows
- Use shadows as leading lines to draw the viewer's eye
- Capture the shadows of people or objects to add visual interest
Camera Settings for Golden Hour
While there's no one-size-fits-all approach to camera settings, these guidelines will help you start:
Exposure
Golden hour light changes rapidly, requiring frequent adjustments:
- Monitor your histogram to ensure proper exposure
- Consider bracketing exposures for challenging scenes
- Expose for the highlights to preserve detail in bright areas, especially when shooting toward the sun
White Balance
While the warm tones of golden hour are beautiful, you have options:
- Use Auto White Balance if you want to slightly temper the warmth
- Set to Daylight or Cloudy to emphasize the golden tones
- Consider shooting in RAW format to have complete control over white balance in post-processing
Aperture Considerations
Your choice of aperture depends on your creative goals:
- Wide apertures (f/1.8-f/4) for portraits to create shallow depth of field
- Middle apertures (f/8-f/11) for landscapes to maintain sharpness throughout
- Small apertures (f/16-f/22) when incorporating the sun in the frame to create sunstar effects
Golden Hour Photography by Genre
Different types of photography can leverage golden hour in unique ways:
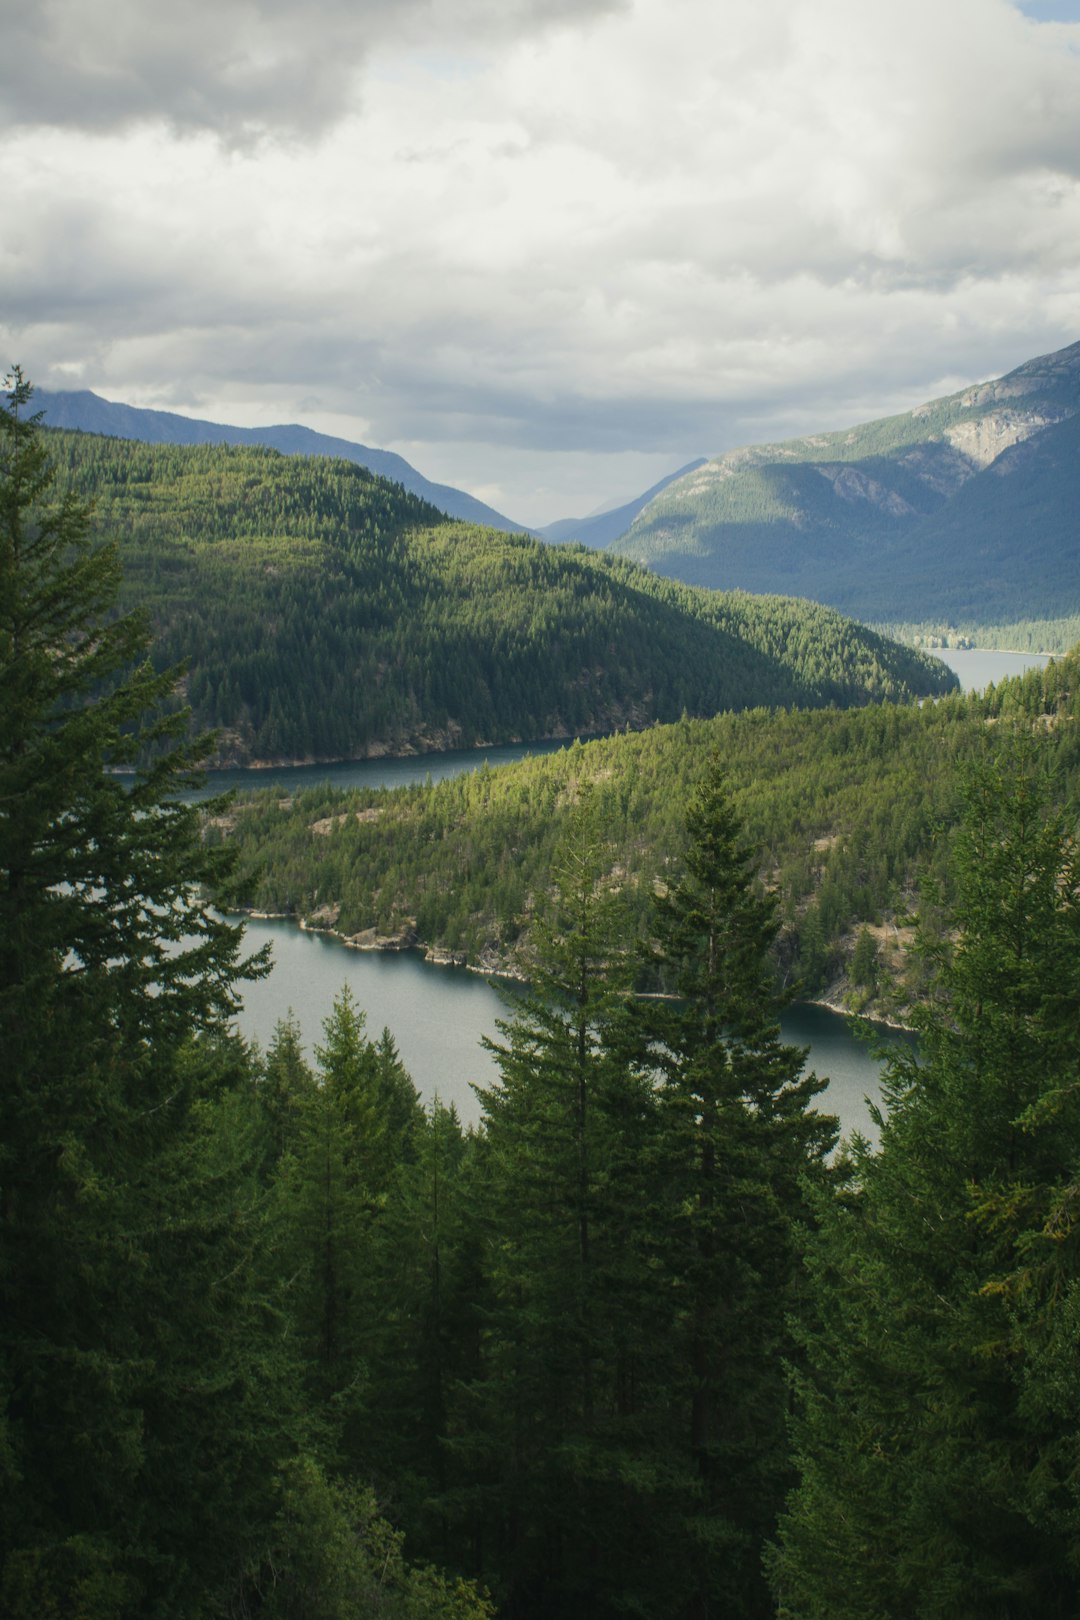
Landscape Photography
Golden hour is perhaps most celebrated among landscape photographers:
- Look for water features that will reflect the golden light
- Use a polarizing filter to manage reflections and enhance saturation
- Consider both wide-angle and telephoto perspectives to capture different aspects of the landscape
- Watch for interesting cloud formations that can be illuminated by the low sun
Portrait Photography
The flattering quality of golden hour light makes it ideal for portraits:
- Position subjects so the light comes from a 45-degree angle for dimensional lighting
- Use backlighting for a dreamy, romantic effect
- Keep sessions moving as the light changes rapidly
- Have subjects face the light for warm, glowing skin tones
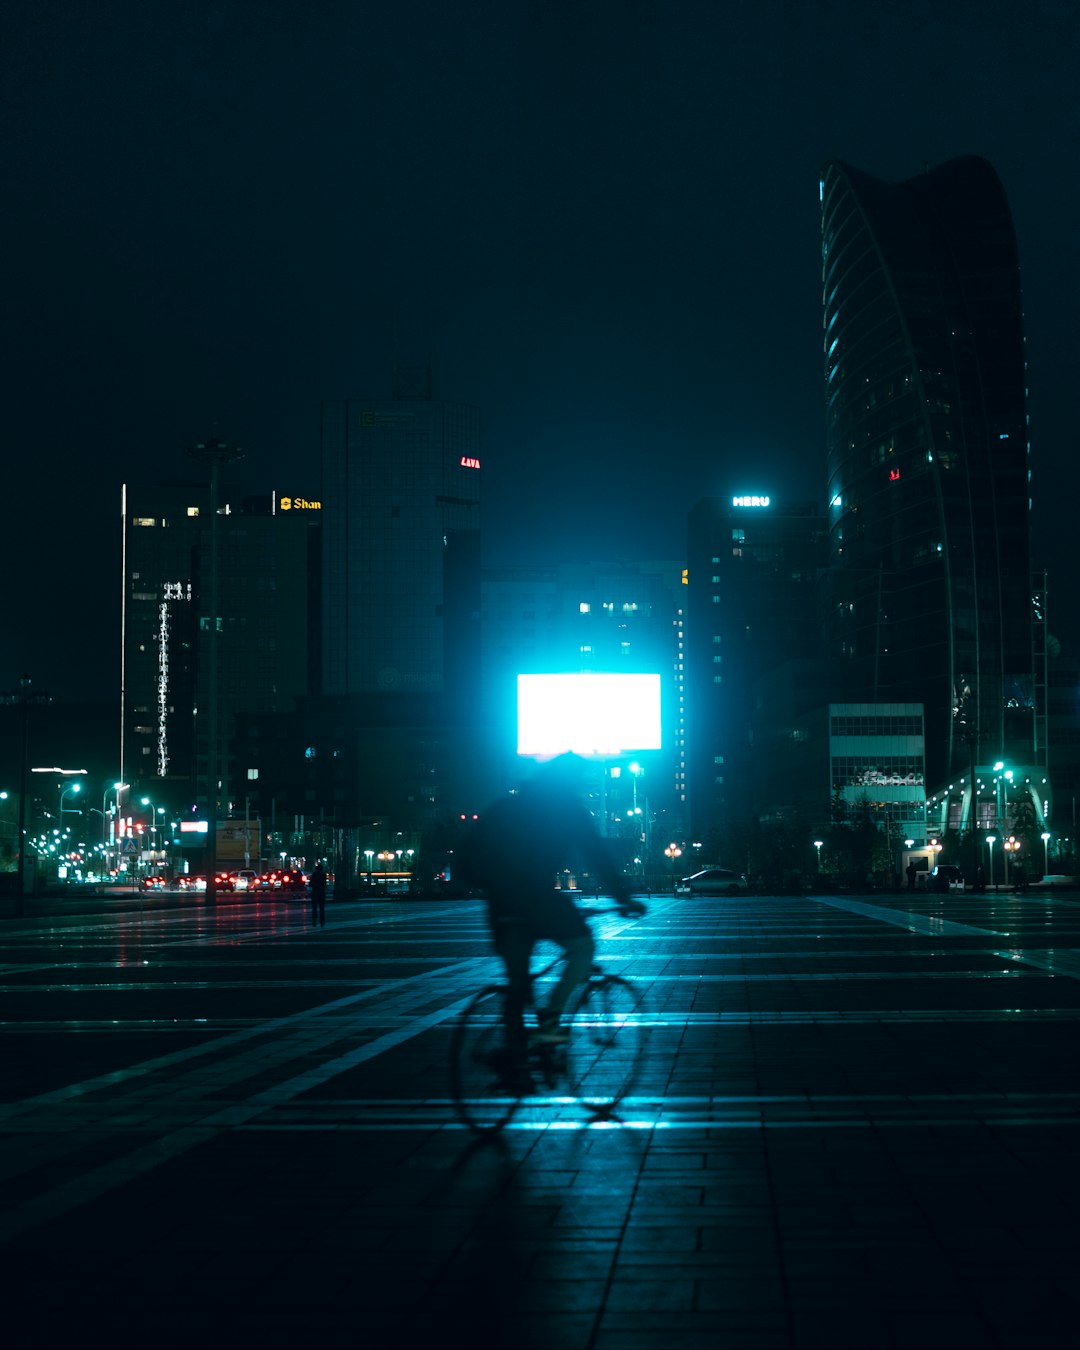
Urban and Architectural Photography
Cities and buildings take on new character during golden hour:
- Look for reflective surfaces like glass buildings that catch the golden light
- Use the long shadows cast by urban structures as compositional elements
- Capture the contrast between warm natural light and cool artificial lighting
After the Golden Hour: Blue Hour
Don't pack up as soon as the sun drops below the horizon. The "blue hour" that follows golden hour offers its own unique qualities:
- Cool blue tones contrast beautifully with artificial lighting
- The soft, even illumination is perfect for cityscapes
- The sky often displays rich colors that can create stunning backgrounds
Conclusion: Embracing the Fleeting Magic
Golden hour photography requires planning, patience, and sometimes a bit of luck with weather conditions. However, the effort is invariably rewarded with images that possess a magical quality difficult to achieve at any other time of day.
Remember that while technical skills are important, the best golden hour photographs also capture the emotion and feeling of these special moments. Allow yourself to be present and responsive to the rapidly changing light, and don't be afraid to experiment with different techniques and compositions.
With practice, you'll develop an intuitive understanding of how to work with this extraordinary light, creating images that stand out for their warmth, dimension, and emotional impact.

Comments
Leave a Comment